Line Set Guide · 2026
DIY Mini Split Pre-Charged Line Sets: How Quick-Connect Works
If you're researching DIY mini split systems, chances are you've landed on the topic of pre-charged quick-connect line sets. Here's how they work, how to route and connect them safely, and what to compare before you commit.
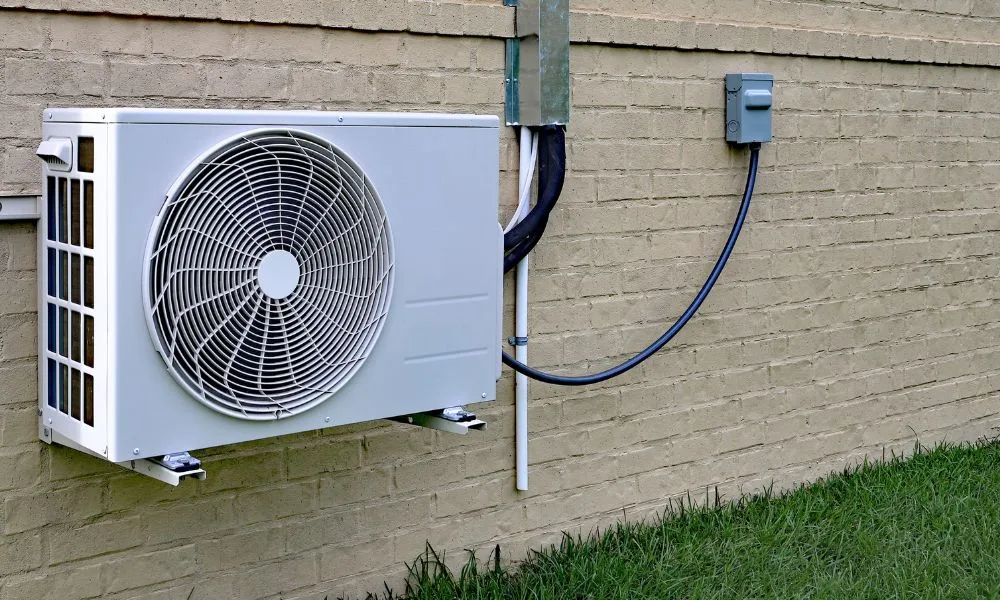
A DIY mini split is a ductless heating and cooling system designed for easy installation by homeowners. Its pre-charged line sets eliminate the need for vacuuming, meaning DIY-friendly systems do not require specialized HVAC tools or professional training.
A pre-charged quick-connect line set is a pair of copper refrigerant lines factory-filled with refrigerant, sealed at both ends with quick-connect valves, and ready to connect between your indoor unit and outdoor condenser without gauges, brazing, or a vacuum pump.
Key facts at a glance
How It Works
How Quick-Connect Pre-Charged Line Sets Work
Each end of the line set carries a valve sealed under a protective cap. The factory-charged copper tubing arrives pressurized with refrigerant, and the valves stay closed until you fully seat the fittings.
Quick connect lines simplify the installation process of mini-split systems — they connect in minutes with zero hassle compared to traditional HVAC installations, which require cutting, brazing, and vacuuming. Remove the caps, align the male and female quick connect fittings, hand-tighten, then torque to the spec listed in the manual. Once fully seated, the valves open and refrigerant flows between the outdoor and indoor unit.
Compatibility
Line Set Compatibility: Stay Within One Brand
Pre-charged quick-connect line sets only fit the quick-connect ports of the system they were built for. You cannot use them on standard flare-type ports or on other brands.
Pre-charged line sets are locked to their own brand's ports, so cross-compatibility between brands doesn't exist — whichever system you buy, stay within one ecosystem.
Accessories
Couplers, Covers, and Generic Line Sets
The right line set comes down to your floor plan and the BTU capacity of your system. A few accessories and limits are worth knowing before you order.
Installation
Using Pre-Charged Quick-Connect Line Sets Safely
Installation can be completed in just a few hours by a moderately handy homeowner, and no HVAC license is required thanks to the pre-charged design. Still, follow the manufacturer's manual step by step for your specific system.
Plan the Path First
Plan the line set path and total length before drilling. Account for vertical rise, bends, and whether you need couplers or line set covers.
Drill the Penetration
Drill an appropriately sized wall penetration with a slight downward slope toward the outside to prevent condensate backflow.
Route Without Kinking
Carefully uncoil and route the insulated line without kinking the copper, especially on larger-diameter sections.
Connect Indoor Unit
Remove caps, align the quick connect fittings, hand-tighten, then torque with wrenches to the manufacturer spec.
Connect Outdoor Unit
Connect the outdoor unit the same way. Double-check that valves are fully seated before proceeding.
Open Valves & Leak-Check
Open the service valves on the condenser, power up the system, and run a leak check following the startup procedure in your manual.
Never cut, re-flare, or attempt to recover refrigerant from pre-charged lines. Doing so defeats the no-vacuum design and may violate EPA Section 608 rules, and A2L (mildly flammable) refrigerants such as R-454B demand safety precautions. In cold climates, protect exposed line sets from snow, ice, and UV with covers, and secure them to prevent wind movement. Our breakdown of the DOE and EPA rules for DIY installation covers what Section 608 permits a homeowner to do and where the A2L room-size limits kick in.
Comparison
What to Compare Across No-Vacuum Systems
The line set is only one part of the system. Here's what to weigh when you compare brands.
No-Vacuum Savings
Pre-charged line sets with quick-connect style fittings let homeowners save by avoiding vacuum pumps, refrigerant handling, and contractor labor. DIY mini split systems can save $3,000–$5,000 in installation costs.
Efficiency & Certifications
SEER2 ratings measure cooling efficiency — higher ratings mean lower running costs over the life of the system. Some systems (such as Zone Air) push up to 24 SEER2 with cold-climate certifications. Check the spec sheet for the exact model you're comparing. Our best pre-charged DIY mini split 2026 comparison puts the leading brands' line sets side by side. Our Pioneer Diamante Pro vs Zone Air 12K comparison shows what line set length means on a real 12K install.
Warranty & Support
Warranty coverage varies across brands, so compare parts and compressor terms and who actually honors a DIY install.
Rebate Eligibility
Homeowners can receive rebates for installing energy-efficient mini-split systems. Cold-climate models with high SEER2 ratings and ENERGY STAR certification are the most likely to qualify, so check those specs before you count on an incentive.
Coverage Per Zone
DIY mini-split systems can heat and cool up to 1,500 sq ft, making them viable whole-room or whole-zone solutions.
If you already own a DIY system, you must buy that brand's own pre-charged line sets — they're the only ones that fit. If you're still shopping, compare full-system cost, efficiency, and support across the leading DIY brands before you commit.
Buying Decision
Choosing the Right DIY Mini Split and Line Set
Picking the correct system and line set comes down to three decisions: BTU capacity, line set diameter, and line set length. Get these right and the rest of the install falls into place.
If you've already committed to a system, select the correct line set by diameter and length. If you're still researching, weigh the DIY-first brands on efficiency, warranty, and support to find the best value for your project.
Keep Reading
Related Guides
Best Quick Connect Mini Split Systems 2026
Which systems are truly quick connect, multi-zone indoor unit mixing, line set leak points, cold-climate heating, warranty, and installed cost.
See the comparison →Best Pre-Charged DIY Mini Split 2026
Who truly ships a pre-charged, no-vacuum DIY system, plus line set lengths, SEER2, warranty terms, and DIY vs pro cost.
See the comparison →Pioneer Diamante Pro vs Zone Air 12K
Two 12K heat pumps compared — line sets, SEER2, heating floors, warranty, and real total cost.
See the comparison →