Rules & Compliance · 2026
DOE & EPA Rules for DIY Ductless Mini Split Installation: Pre-Charged Lines, Permits, and What Homeowners Can Legally Do
Installing a ductless mini split yourself saves thousands of dollars, and federal rules from the DOE and EPA draw real boundaries around what a homeowner may do. Here is where those lines actually fall in 2026, including the piece of EPA guidance that almost no DIY guide quotes.
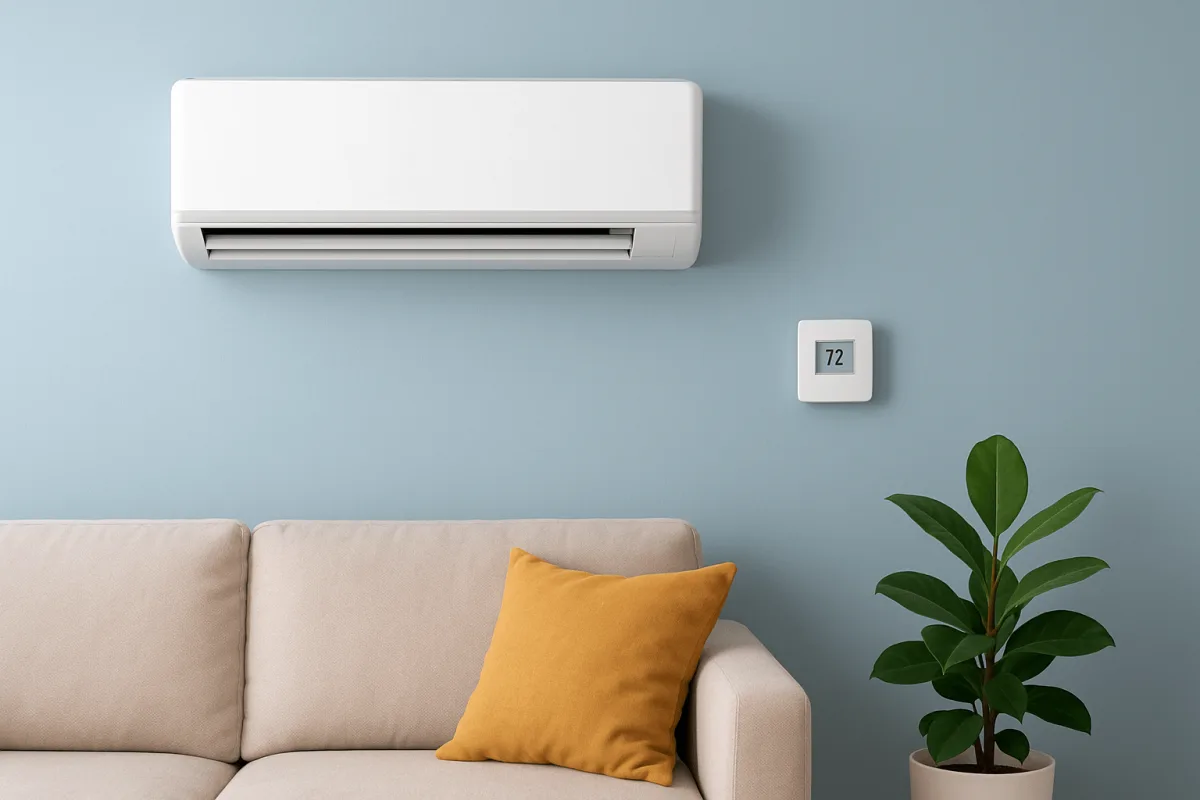
Homeowners install pre-charged quick-connect mini splits all over the country, and manufacturers design, sell, and warrant them for exactly that. No federal rule stops you mounting equipment, drilling the wall, or making a sealed connection. Three things are firmly off limits regardless of who you are: opening the refrigerant circuit, venting refrigerant, and buying refrigerant without EPA Section 608 certification. Your local building department is the authority that actually affects most projects, and it usually wants a mechanical permit, an electrical permit, and a final inspection. One caveat worth reading below: EPA's own published Q&A on this is less clear-cut than the DIY marketing suggests.
The Framework
Two Agencies, Two Completely Different Jobs
People tend to lump "the federal rules" into one worry. They are actually two separate regimes that touch your project at different points, and only one of them cares who is holding the wrench.
The Department of Energy regulates the equipment. DOE sets minimum efficiency standards, expressed since January 2023 in SEER2, EER2, and HSPF2. Split-system heat pumps have to meet 14.3 SEER2 and 7.5 HSPF2, and that standard is national. Air conditioners are regional: about 13.4 SEER2 in the northern region and 14.3 SEER2 in the southern and southwestern regions for systems under 45,000 BTU. DOE has nothing to say about who installs the equipment. It only constrains what may legally be sold and, in some regions, installed.
For DIY buyers this is mostly academic. Current pre-charged heat pump mini splits run 22 to 24 SEER2, far above the floor, so compliance is settled at the factory. It matters when someone offers you old stock at a suspicious discount.
The EPA regulates the refrigerant. Section 608 of the Clean Air Act governs who may open, recover, evacuate, or charge a refrigerant circuit, prohibits intentional venting, and restricts who may purchase refrigerant. This is the regime that decides whether a given task is yours or a technician's, and it is where the DIY category lives or dies.
The whole design premise of a pre-charged mini split is to keep your project outside the second regime entirely. Whether it fully succeeds is a more interesting question than the marketing lets on.
The Part Nobody Quotes
EPA Section 608: Where the Line Actually Falls
Nearly every DIY mini split article states flatly that pre-charged systems do not require EPA Section 608 certification. That is the industry's position and it is a reasonable reading. It is not, however, what the EPA's own published guidance says.
In the EPA's Refrigerant Management Program questions and answers for Section 608, the agency asks and answers this directly:
"Is technician certification required to install an R-410A mini-split? Yes. Adding or removing refrigerant from a mini-split as part of installation, and/or connecting or disconnecting hoses or pre-charged lines requires a section 608 technician certification."
Note the last five words. The guidance names pre-charged lines specifically.
The counter-argument from manufacturers and retailers is a real one. A quick-connect coupling is a mechanical valve that goes from sealed to sealed. The circuit is never open to atmosphere, no refrigerant is added or removed, nothing is vented, and no hose is attached. On that reading the activity the EPA is describing simply does not occur. The agency has not published a carve-out confirming or rejecting that interpretation, so the question sits unresolved rather than settled in either direction.
What that means for you, practically: enforcement under Section 608 targets venting and improper refrigerant handling, homeowners installing sealed quick-connect kits are not a category the EPA has pursued, and manufacturers honor warranties on these installs. Millions of these systems are in service. We are not telling you to worry. We are telling you that "no certification required" is a manufacturer's interpretation rather than a published exemption, and you deserve to know that before someone else tells you otherwise.
Several things are genuinely unambiguous, and these are the ones to actually plan around:
This is general information, not legal advice. Federal guidance is periodically updated and state rules vary. Verify current requirements at epa.gov under "Section 608 Technician Certification" before starting a project.
The Technology
What "Pre-Charged" Actually Means
Refrigerant is loaded and sealed at the factory in both the outdoor condenser and the line set. Mechanical valves inside the quick-connect couplings hold it there, and they open only when the fitting is torqued down onto its mate. The circuit goes from sealed to sealed. Nothing is ever open to the air.
That single design choice removes the vacuum pump, the manifold gauge set, the micron gauge, the nitrogen pressure test, and the refrigerant purchase. What remains is mechanical work: mount, drill, route, torque, wire, commission.
Compare that to a traditional install. A technician runs bare copper line set, flares both ends, evacuates the lines down to a few hundred microns with a vacuum pump, verifies the vacuum holds, then releases the factory charge from the condenser into the system. Every step of that is refrigerant work, and the tooling alone runs roughly $400 to $1,800 to rent or buy. This is the actual reason professional installation costs what it does, and the reason pre-charged systems changed the economics.
MRCOOL's pre-charged line set valves are tested and certified by Intertek, a nationally recognized testing laboratory. That is worth more than a marketing badge, because inspectors occasionally ask about the listing on a component they have not seen before, and a recognized lab mark answers the question.
Line sets come in fixed lengths, typically 16 or 25 feet depending on brand and kit. Buy the length you need. A pre-charged line set cannot be cut or extended, and cutting one releases the charge, voids the DIY approval, and converts your weekend into a service call.
The Equipment
Which Ductless Mini Splits Are Actually Built for DIY
Most mini splits on the market are still designed for professional installation. Only a handful of brands genuinely engineer for a homeowner install with sealed pre-charged lines and instructions written for someone who has never done it before. There is a meaningful difference between a true DIY kit and a system that is merely "DIY-friendly," and the second category still needs a certified technician for the refrigerant circuit.
Zone Air builds single-zone wall mounts in 9,000, 12,000, and 18,000 BTU with pre-charged R-454B quick-connect lines and 16 ft line sets. The 115V wall mounts are rated 23 SEER2 and the 230V versions run 23 to 24 SEER2, with heating down to −13°F. Coverage is roughly 450 sq ft on the 9K, 600 on the 12K, and 900 on the 18K. Beyond wall mounts there are ceiling cassettes at 21 SEER2 and concealed ducted units at 19 to 22 SEER2, which is unusual in the DIY category and useful when a wall head will not work. Multi-zone bundles run from 18K to 36K. Warranty is 7 years on the compressor and 5 on parts. The 9K and 12K are available in 115V, which is the single biggest simplifier on a DIY project.
MRCOOL DIY 5th Gen is the main alternative, with pre-charged R-454B lines, patented quick-connect fittings, a deep library of install videos, and multi-zone support up to six indoor heads. Most multi-zone configurations need 208/230V circuits. Our MRCOOL DIY 5th Gen review covers it in detail, and the Energy Star cold climate guide explains why the cold-weather ratings vary so much by size.
Everything else in the ductless market, including Pioneer, Senville, Daikin, and Mitsubishi, uses flare connections that require evacuation. Some are marketed as approachable, and an experienced DIYer with tools does install them. That work still falls squarely inside Section 608. Compare the full field in our DIY brand rankings.
Local Rules
Permits, Inspections, and Your Building Department
Here is the part that actually derails projects. Your local building department, not the DOE or the EPA, decides what a homeowner may do without a license in your city. Federal rules set a floor; local code goes further and varies enormously.
Most jurisdictions want a mechanical permit for new equipment or a relocation, and an electrical permit for a new circuit, an outdoor disconnect, or a new breaker. Fees commonly land between $50 and $200, and there is normally a final inspection before the system is considered compliant. Some areas add a low-voltage permit when control wiring passes through fire-rated assemblies.
Many jurisdictions issue owner-builder permits for owner-occupied single-family homes, which lets you pull your own paperwork. Some still require a licensed electrician to perform or sign off on the high-voltage work even when you do everything else. A few do not allow homeowner permits at all.
Call before you buy, not after. Ask three specific questions: which permits does this job need, can a homeowner pull them, and what does the final inspection cover. Ten minutes on the phone is worth more than an hour of reading forum posts about what someone's cousin did in a different state.
Skipping permits is the mistake that lies dormant. Unpermitted mechanical and electrical work gives an insurer grounds to contest a claim after a fire or water loss, and it surfaces during resale when a buyer's inspector asks. Both are far more expensive than the permit was.
If you are in a condo, a rental, or an HOA, get written approval for the outdoor unit location and the exterior wall penetration before ordering equipment. Condenser placement is one of the most commonly restricted items in HOA rules.
Specification
Sizing, Voltage, and Zones
Picking the right system matters as much as installing it correctly. A common starting point is about 25 BTU per square foot, so a 500 sq ft room lands near 12,000 BTU. Adjust upward for poor insulation, high ceilings, and west-facing glass, and downward for a tight, well-insulated space. Manufacturer coverage figures are a useful sanity check: Zone Air rates its 9K to roughly 450 sq ft, the 12K to 600, and the 18K to 900.
Voltage is the decision that most affects how much of the job stays yours. A 115V system in the 9K to 12K range typically runs on a dedicated 115V circuit, which is ordinary residential electrical work and sometimes needs no new panel work at all. Once you step up to 208/230V, which covers most 18K and larger units and nearly all multi-zone systems, you are adding a dedicated breaker and an outdoor disconnect, and many jurisdictions want a licensed electrician on that. If a 115V unit will carry the room, it will save you money and paperwork.
On zones, a single-zone system is one condenser and one head, and it is by far the easiest DIY project. Two and three-zone pre-charged systems are achievable but multiply the routing, the planning, and the number of connections that have to be right. Larger multi-zone layouts are where a hybrid approach starts making sense.
One thing worth checking before you commit to a multi-zone bundle: separate single-zone systems are often cheaper per zone, give you redundancy if one condenser fails, and can be installed one at a time as budget allows. Our multi-zone guide works through that trade-off.
The Work
What a DIY Install Actually Involves
A straightforward single-zone job runs roughly four to eight hours for someone comfortable with power tools, longer if wall access is awkward or it is your first one.
Tools worth having on the bench: a drill with a 2.5 to 3 inch hole saw, a torque wrench, a stud finder, a level, an adjustable wrench, a voltage tester and multimeter, and eye protection. The torque wrench is not optional and not a place to substitute feel.
Because the lines are pre-charged, there is no vacuum step, no micron reading, and no nitrogen test for you to perform. The full step-by-step is in our DIY mini split installation guide, and the connection details are covered in the pre-charged line sets guide.
Avoid These
The Mistakes That Ruin a Pre-Charged Line Set
Pre-charged systems trade refrigerant complexity for a different risk: the line set itself is now a sealed pressure vessel you are handling, and it is not forgiving of abuse.
Kinking is the big one. A sharp bend restricts flow and can produce micro-cracks that leak slowly for months before anyone notices. A kinked line set gets replaced, not straightened, and replacement means ordering a new pre-charged set and waiting. Read the bend radius diagram in the manual before you start uncoiling, not after.
Dirty or cross-threaded couplings destroy the internal O-rings and create a leak path that torque cannot fix. Inspect and wipe the threads before every connection, and never force a fitting that does not start smoothly by hand.
Torque is a specification, not a feeling. Under-tightened connections leak. Over-tightened connections crush seals and crack housings. Both failures look identical from the outside a month later. Use a calibrated torque wrench set to the manufacturer's number.
Unprotected line sets exposed to UV, weather, string trimmers, and traffic degrade quickly and may fail inspection. Line set cover is inexpensive and makes the finished job look professional rather than improvised.
Fine Print
Seven Rules Almost Nobody Mentions
Protecting Yourself
Warranty, Insurance, and Documentation
A legal install and a protected install are not automatically the same thing. The difference is usually paperwork.
DIY-focused brands honor the warranty on a homeowner install when the pre-charged lines are used as designed and the manual is followed. Zone Air and MRCOOL both run 5 years on parts and 7 on the compressor under those terms. Traditional brands frequently require a licensed contractor to preserve full coverage, so read the warranty booklet before you buy rather than after something fails. Damage you cause, such as a kinked line, a miswired circuit, or a drain routed uphill, is excluded everywhere regardless of brand.
On the insurance side, unpermitted or failed-inspection work gives an insurer a foothold to contest a claim tied to fire, water, or electrical damage. Appraisers and home inspectors increasingly ask whether ductless systems were permitted, and an honest "no" costs real money at closing.
Keep a folder with the permit, the inspection sign-off, the purchase receipt, the AHRI certificate, model and serial numbers, and photographs taken during the install with the wall still open. That last item is worth more than people expect, both for warranty claims and for whoever works on the system in ten years.
The Money
DIY vs Professional Install: What It Actually Costs
| Line item | DIY pre-charged | Professional install |
|---|---|---|
| Equipment (single zone) | $1,000–$2,350 | $1,500–$3,000 |
| Labor | Your weekend | $1,500–$5,000 per zone |
| Permits | $50–$200 | Usually included |
| Tools & materials | $100–$300 | Included |
| Electrician (if 230V) | $200–$600 | Included |
| Typical all-in | $1,200–$2,800 | $3,000–$8,000+ |
Typical 2025–2026 ranges for a single-zone system. Equipment pricing and labor rates vary widely by region and by season.
The saving on a single zone commonly lands between $2,000 and $5,000, and it scales with zone count because labor is charged per head. That is the entire economic case for the category, and it is a strong one.
Worth keeping in perspective: a window unit or portable air conditioner costs a fraction up front and delivers a fraction of the efficiency, comfort, and quiet. Neither adds to the value of the house the way a permitted, installed ductless system does.
The Decision
The Hybrid Approach, and Whether DIY Suits You
Plenty of homeowners split the job, and it is usually the smartest version of this project. You handle the layout, the wall penetration, the mounting, the line set routing, the drain, and the 115V connections where code allows. A licensed electrician handles new 230V circuits, subpanel work, and any service upgrade. That captures most of the labor saving while keeping the risky and heavily regulated part with someone insured to do it, and it often cuts contracted labor cost substantially.
DIY suits single rooms, additions, garages, workshops, bonus rooms, cabins, and accessory dwellings, and it suits people who are comfortable on a ladder, willing to read a manual properly, and not intimidated by a phone call to the building department. If any of those give you pause, hire it out. A professional install is not a failure. It is a reasonable purchase.
The path from here is short. Measure the space and confirm the load, check your panel for spare breaker capacity, call the building department about permits, verify the model you want meets current DOE minimums and any rebate program's list, and then buy a system whose line set length actually reaches. Everything after that is a good weekend.
Common Questions
DIY Mini Split Rules: FAQs
Keep Reading
More Mini Split Guides
Pioneer Precharged Line Set: Is a Vacuum Pump Required?
Pioneer's official stance on pre-charged line sets, what the Kwik-E-Vac flush kit really does, and the no-vacuum DIY alternatives.
Read the guide →DIY Mini Split Installation Guide
The full step-by-step walkthrough — planning, mounting, connections, and startup.
Read the guide →Energy Star Cold Climate: MRCOOL 4th vs 5th Gen
What the cold-climate mark requires, and how MRCOOL's ratings swing by size.
See the numbers →MRCOOL DIY Pre-Charged Line Sets
How quick-connect fittings work, routing rules, and getting the torque right.
Read the guide →Best DIY Mini Split Brands 2026
The pre-charged DIY brands ranked head to head — install difficulty, efficiency, and warranty.
See the rankings →